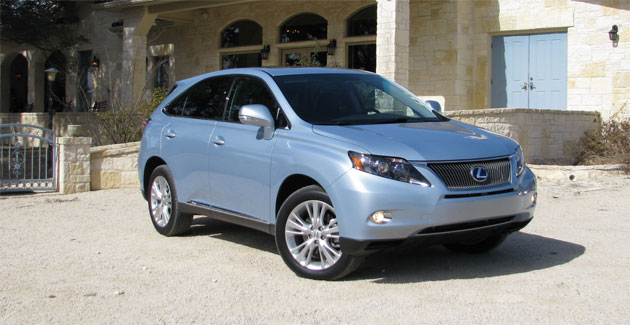
Even though it's long in the tooth, we love our trusty 2010 Lexus RX 450h SUV...
....except for one thing.... The rear seat map lights can kill the battery!
Since our kids became old enough to turn on those map lights on their own, they have killed the battery *seven times*.
This problem exists because the map lights in the rear and front seats are all connected to "always on" power, so if you leave them on, they will kill the battery. This isn't something front-seat passengers accidentally do, but those little backseat rascalls do it all the time. And how often do adults think to check the backseat map lights to see if they are turned off? Basically never. And doing so would be hard anyway, because the dome light *is* on, so you'd have to carefully be looking for the map lights separately from the dome light.
I invested in a compact lithium-ion jump start battery, which I've used at least 13 times, because when the battery is completely dead it takes a while before I can charge it enough that it's back to normal. And this car is weird, it's not the easiest car to jumpstart, or to charge. The battery is located in the back, which you can't get to when the car has no juice, because the hatchback has an electric lock. And while I can jump the battery from the front, attempts to charge the battery from the under-hood terminals has never worked for me.
This problem has been such a hassle that my wife wants me to trade in the car (even though it's running great), because she considers it unreliable.
However, I'm a computer engineer, and a hobbyist. After cursing about why these map lights are not wired to a switched power source that goes off automatically, I decided to do a little hack job and fix the problem. Turns out it isn't even very hard, though it does require some skills with a voltmeter and a soldering iron.
First you have to get the dome light assembly out of the roof. Not just the cover, the whole assembly. This is achieved by getting something firm (like a putty knife, or a wide screwdriver, or a plastic pry, under the back lip, and applying pressure. Alot of pressure. Eventually, the clear plastic snap rings will pop loose. You can also pry out the front side (like I did), but this is harder, and the clear snap rings will stay in the back, and they are a pain to get out. Trust me, pry the back out.
When you the light housing out, there is a connector on it which has 4 wires. From the left, negative-maplight, positive-maplight, negative-domelight, positive-domelight. The two maplight leads head to the first maplight switch on the left, while the dome-light leads head to the middle light housing.
The first thing I did was cut all the leads, so I could put a voltmeter on them and test for polarity. After this, I soldered both the map lights and dome light into the two switched lines for the dome-lights. I plugged the connector back in to test, and voila! Now my rear seat map lights are switched with the dome light, so they can't kill the battery anymore.
This is what my assembly looked like after I was done... That's yellow electrical tape over my jenky solder welds.
Originally I was thinking I could leave the negative connected, and swap the positive maplight to the positive dome light. However, this still left the map light always on, which led me to believe the switching is in the negative lead. So I just finished the job, and moved the negative maplight lead over also. It's possible you could move only the negative maplight lead over.
Either way, be sure to over any exposed wire parts with electrical tape or heat shrink, so they don't short. You can see in the picture above that I didn't actually cover the map-light leads, which is a mistake, as if they touch the metal roof of the car, they'll short and blow a fuse. I'll have to pry it open and quickly fix that.


No comments:
Post a Comment